I used to shop like a magpie. Shiny object? Mine. A trendy color or a famous label on the rack would short-circuit my brain, and I’d buy it. I ended up with a closet full of clothes that looked good for one wear before pilling, sagging, or losing their shape in a way that made me feel frumpy. The turning point was a disastrously expensive silk blouse that warped in the wash into a trapezoid. Standing there, holding this sad, expensive rag, I had an epiphany: I’d been judging books by their covers and clothes by their hanger-silhouettes. I decided to learn to read the language of construction. It transformed shopping from an impulse sport into a hunt for quality, and my wardrobe from a collection of disappointments into a reliable arsenal.
My Education Began at the Seams:
It all starts where the pieces come together. I learned to turn garments inside out. This is non-negotiable. The inside tells the truth the outside often hides.
First, I look for flat-felled seams or French seams. These are the hallmarks of quality, especially in shirts, jeans, and tailored trousers. A flat-felled seam is where the raw edges are enclosed within the seam itself (think the side seams on a classic men’s dress shirt). A French seam is fully encased, leaving a clean finish on the inside. They prevent fraying, add durability, and lay flat. If I see overlocked (serged) seams, the loopy, thread-covered edges, that’s fine for knits and casualwear, but I check their density. Are they tight and even, or loose and sloppy? Loose serging is a one-way ticket to unraveling.
Then, I check the hem and cuff construction. On a sleeve or pant leg, I gently pull at the hem. Is it stitched with a nearly invisible blind stitch or a delicate catch stitch that allows for movement? Or is it just a straight, hard stitch that will pucker and look cheap? For cuffs on shirts and blouses, I look for single-needle tailoring, a single row of very fine, precise stitching. It’s a sign of care and better tension control than the double-row stitch you see on fast fashion.
The Fabric Tell: It’s Not Just What, But How:
Anyone can buy a “100% cotton” label. The magic is in the finish and the weave. I stopped just feeling for softness (which can be a chemical finish that washes out) and started feeling for density and drape.
For wovens like cotton shirts or linen pants, I do the crumple test. I gently fist a section of the fabric for a few seconds and release. Does it spring back with minimal wrinkles, or does it hold a crumpled map of my hand? Good quality, high-thread-count cotton or well-woven linen will recover. Cheap, limp fabric won’t. I also hold it up to the light. Can I see through it? A very sheer fabric might be delicate, but it also might be flimsy. I’m looking for a substantial opacity that suggests a tighter weave.
For knits like t-shirts and sweaters, the recovery test is key. I pinch a bit of the fabric and stretch it gently sideways. Does it snap back instantly to its original shape, or does it stretch out lazily and stay distorted? Good quality jersey or ribbing has memory. I also examine the grain. The knit lines should be perfectly perpendicular and straight. If they’re wavy or skewed, the garment was cut off-grain and will twist on your body after washing.
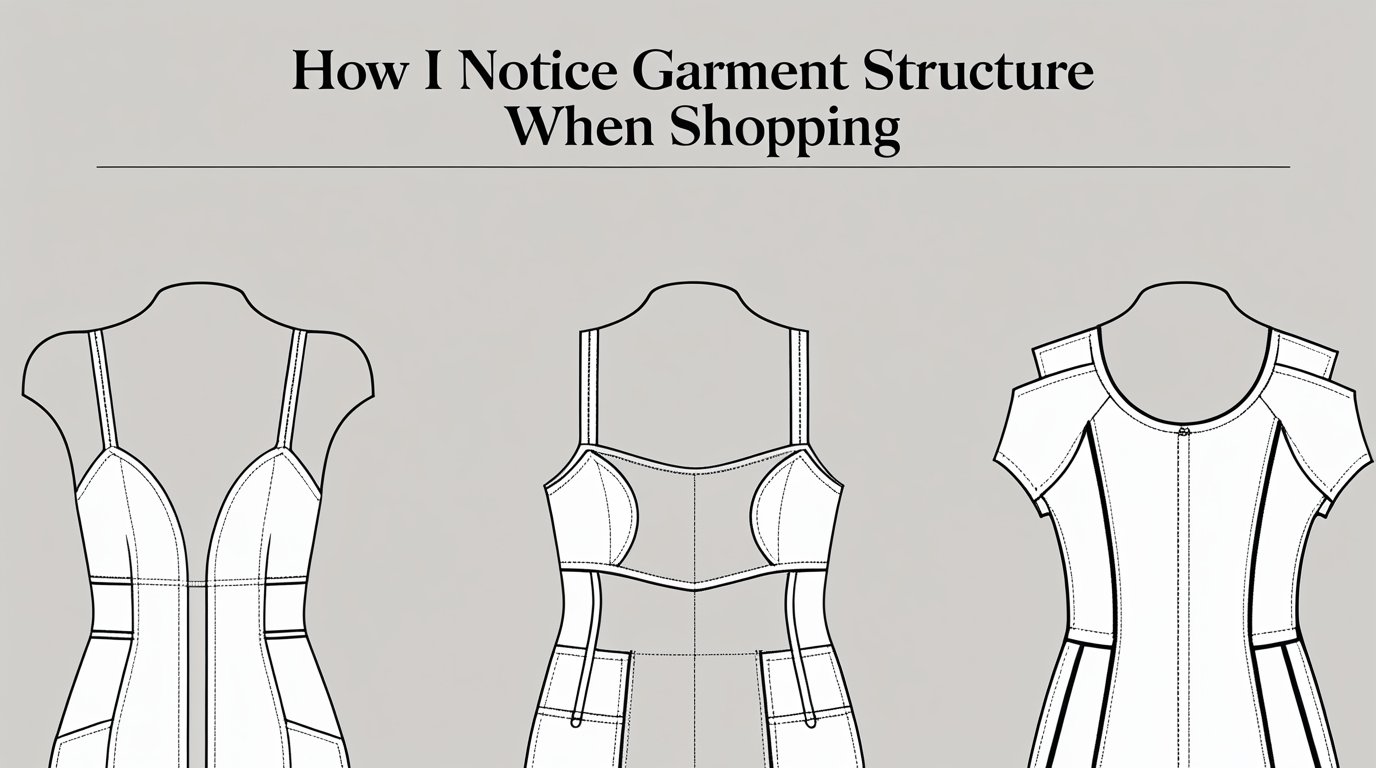
The Architecture: Darts, Facings, and Interfacings:
This is where you separate a garment that’s merely sewn from one that’s built. I look for the bones.
Darts are those triangular stitched folds that give shape at the bust, the back, or the waist. I check that they are pointed precisely toward the body’s curve and are smoothly stitched, not puckered. Their presence alone is a good sign; their absence on a “fitted” woven garment means it will rely on stretch or will fit boxily.
Facings are the hidden pieces of fabric that finish raw edges, like at the neckline or armholes. I lift the neckline and look inside. Is it facing a generous, properly shaped piece of self-fabric or a nice lining? Or is it just a narrow, scratchy strip of cheap polyester? A good facing lies flat and keeps the garment’s edge from curling.
Interfacing is the secret skeleton. It’s the stiff-ish layer fused or sewn between fabrics to give structure to collars, cuffs, and button plackets. I feel the collar. Does it have a gentle, body-responsive firmness, or is it cardboard-stiff (a sign of cheap, heavy fusible) or limp as a rag (no interfacing at all)? I also check for bubbling on the outside of a shirt collar or placket. If you see ripples, the fusible interfacing is detaching, a fatal flaw that will only worsen.
Hardware and Closures: The Devil in the Details:
Buttons, zippers, and hooks are the jewelry of a garment. They are the first points of stress and failure.
I’ve made it a habit to feel every button. Are they sewn on securely with a shank (a little thread stem) or tight, multiple-thread passes? Or are they barely hanging on with two flimsy threads? I gently tug. Buttons should be made of natural materials like horn, corozo, or mother-of-pearl for high-end pieces, or at least thick, durable plastic. I avoid anything that feels like painted plastic or is sewn on messily.
For zippers, I test the pull. It should glide smoothly, not catch or snag. On coats or dresses, a quality metal YKK zipper is a great sign. For finer garments, I look for hidden zippers that are properly installed so the fabric doesn’t get caught in the teeth. On jeans, the fly buttons should be substantial, and rivets at stress points should be flat and secure, not popping off.
The Silhouette on the Hanger vs. On My Body:
Finally, I learned to see the ease. How much extra fabric is built into the garment for movement? I hold up a blazer or coat by the shoulders. Does the shoulder seam hit exactly where my shoulder would, or does it extend slightly? A slight extension can indicate better construction for layering. I also look at the pattern matching. On plaids, stripes, or obvious patterns, do the lines meet up perfectly at the seams, especially at the center back and sides? It’s a sign the cutter took time and used more fabric, a hallmark of better quality.
I never, ever buy something without doing a modified version of these checks right in the fitting room. I turn it inside out. I check the seams. I stretch the fabric. I examine the buttons. It takes 60 extra seconds, and it has saved me from a hundred poor purchases.
The Result: A Closet That Works:
This isn’t about being a snob. It’s about being an informed consumer. By learning this language, I buy less, but I buy better. I’m no longer seduced by a trend or a label. I get a visceral satisfaction from finding a perfectly felled seam or a beautifully finished facing. My clothes last longer, look better on my body, and make me feel confident because I know they’re built to last. I’m not just wearing fabric; I’m wearing good design and thoughtful craftsmanship.
The Bottom Line:
Learning to see structure turned shopping from an emotional gamble into an exercise in discernment. I don’t just see a beautiful blouse; I see the single-needle stitching, the self-fabric facing, and the horn buttons. It empowers me to spot quality at every price point and to walk away from expensive junk. My closet is quieter now, but every piece in it speaks volumes.
FAQs:
1. Do I need to become a seamster to do this?
No, you just need to become a detective, learning a few key signs of good versus poor construction.
2. Is this only for expensive clothing?
Absolutely not; you can find well-constructed gems at affordable prices by knowing what to look for.
3. What’s the single fastest check I can do?
Turn the garment inside out and examine the cleanliness and finish of the seams and hem.
4. Does fabric content really matter if the construction is good?
Yes, they work together; excellent construction on terrible fabric is still a doomed garment.
5. How can I tell if a knit will hold its shape?
Perform the pinch-and-stretch test; good recovery means it will resist bagging out.
6. Are there certain brands known for good construction?
Brands can be inconsistent; focus on the individual garment’s details, not just the label.